This week, I'm starting out with an apothecary jar that I made. These things are so cool and can be used for so many different things. Making this first one (yes I plan on making more) has given me so many ideas for the uses and designs of other jars. This was very simple and did not cost much to make. I made this one as a smelly good decoration for our front bathroom.
What is needed?
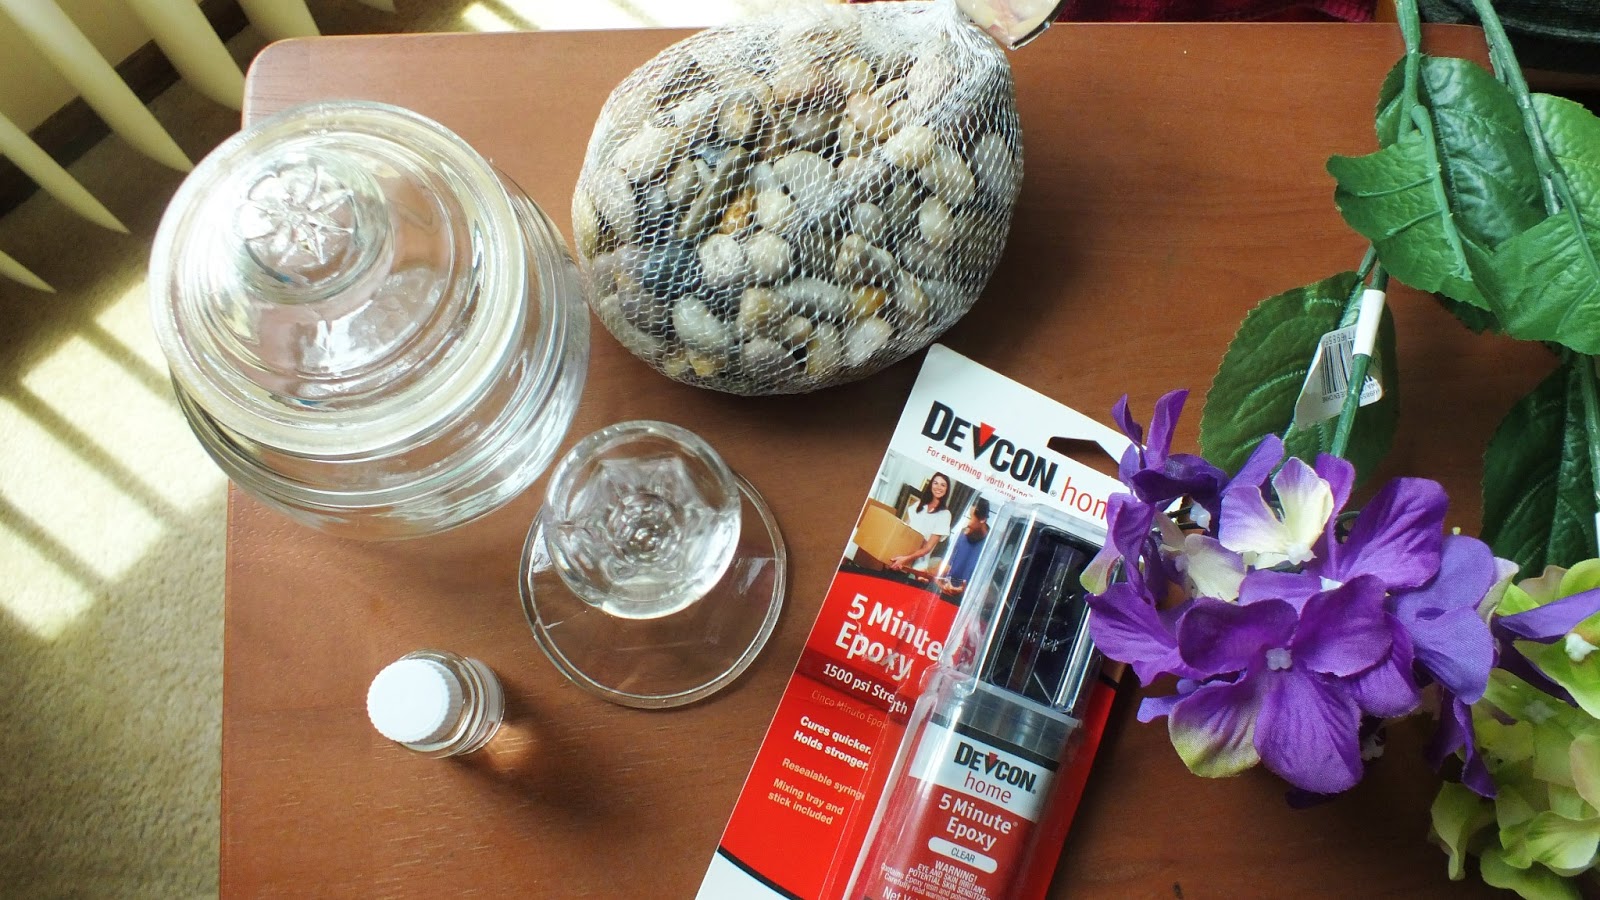
- Glass candlestick
- Glass jar with lid
- Decorative rocks
- 5 Minute Epoxy
- Silk flowers
- Scented oil
- Ribbon
I made sure the candlestick and jar were clean and free of all stickers. The epoxy I used had to be mixed. So, I took a sheet of aluminum foil and put some of the epoxy on it. I mixed it with a large flat toothpick that I just happened to have on hand from a party.

I used the stick to apply the epoxy to the candle stick. I then sat the jar on top of the candlestick and let the epoxy dry for a few hours.


When I was sure the epoxy was dry and the glass parts were securely attached to each other I filled the jar about 3/4 full with the decorative rocks. I took some of the individual flowers off the stems of silk flowers and placed them on top of the rocks. Then, I sprinkled some scented oil over all of that. I also tied a ribbon to the stem of the apothecary jar to match the color of the flowers. Finally, I put the lid on the jar. And, there you have it, my decorative apothecary jar.

When the lid is removed the aroma of the scented oil fills the room with good smelly scent. It will have to be refreshed every now and again, but that's no big deal. I really love the way it turned out and cannot wait to make more. I'm thinking my daughter needs one for something in her room. I'm sure.
No comments:
Post a Comment
Note: Only a member of this blog may post a comment.