Pages

Showing posts with label glass. Show all posts

Monday, June 17, 2013

I Made It Monday: Decorative Apothecary Jar

     It is summer break for me and so I have more time to do things that I want.  I've done a lot of surfing around the Net, looking at crafty type things and recipes because for some reason this undomesticated goddess has gotten the urge to create.  So, I'm going to try to post something that I made every Monday, at least for the summer.

    This week, I'm starting out with an apothecary jar that I made.  These things are so cool and can be used for so many different things.  Making this first one (yes I plan on making more) has given me so many ideas for the uses and designs of other jars.  This was very simple and did not cost much to make.  I made this one as a smelly good decoration for our front bathroom.

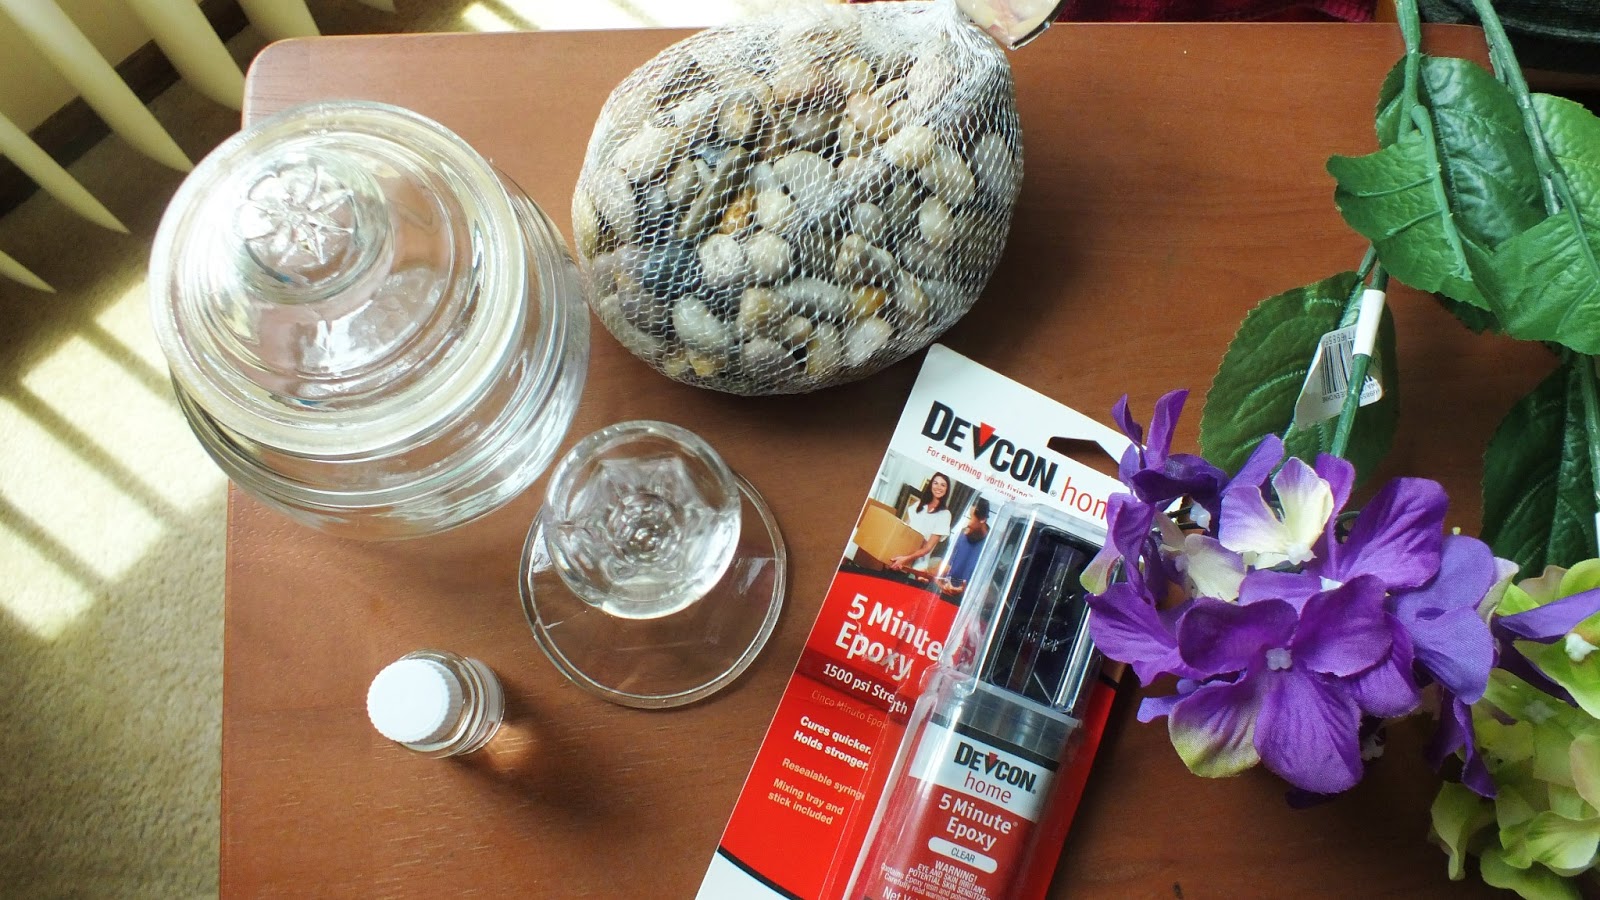
What is needed?

  • Glass candlestick
  • Glass jar with lid
  • Decorative rocks
  • 5 Minute Epoxy 
  • Silk flowers
  • Scented oil
  • Ribbon


     I made sure the candlestick and jar were clean and free of all stickers.  The epoxy I used had to be mixed.  So, I took a sheet of aluminum foil and put some of the epoxy on it.  I mixed it with a large flat toothpick that I just happened to have on hand from a party.


     I used the stick to apply the epoxy to the candle stick.  I then sat the jar on top of the candlestick and let the epoxy dry for a few hours.


     When I was sure the epoxy was dry and the glass parts were securely attached to each other I filled the jar about 3/4 full with the decorative rocks.  I took some of the individual flowers off the stems of silk flowers and placed them on top of the rocks.  Then, I sprinkled some scented oil over all of that.  I also tied a ribbon to the stem of the apothecary jar to match the color of the flowers.  Finally, I put the lid on the jar.  And, there you have it, my decorative apothecary jar.


     When the lid is removed the aroma of the scented oil fills the room with good smelly scent.  It will have to be refreshed every now and again, but that's no big deal.  I really love the way it turned out and cannot wait to make more.  I'm thinking my daughter needs one for something in her room.  I'm sure.  


Thursday, April 4, 2013

D is for Digitiser

     I am in mourning!

. 

      My tablet is broken.  I killed it.  I dropped it a couple days ago and the glass is shattered.  It wasn't enough for me to just drop it, I had to drop it on the top edge of it, so none of the impact was cushioned by the case.  I am really quite sick over it and extremely angry with myself.  

     The thing about having something like this happen is that you tend to learn things.  Yes, like you should be a lot more careful about how you handle your treasured electronics, but other things, too.  I, of course started looking up information on if it could be repaired.  I now know a little more about how a tablet works.  I am by no means an expert, but still, it's cool to learn new things.

     For those who don't know a tablet screen is made up of layers of glass.  The top layer is called the digitiser.  The layer underneath is the LCD screen.  The LCD is, of course, where the pictures come from.  The digitiser is the part of the device that turns your finger touches into commands that make the applications do what they do.  In other words, it's what tells the tablet what to do when you touch it.

     Apparently, it is not uncommon for a digitiser to be broken.  I guess I'm not the only careless, clumsy tablet owner in the world.  It can be fixed.  It's gonna cost about as much as it cost me to have a fan replaced in my laptop several years ago.  It also means I will have to send my tablet away to get repaired.  I just hope my tablet is not the worst they've ever seen.  It looks pretty bad to me.


Blogging A to Z